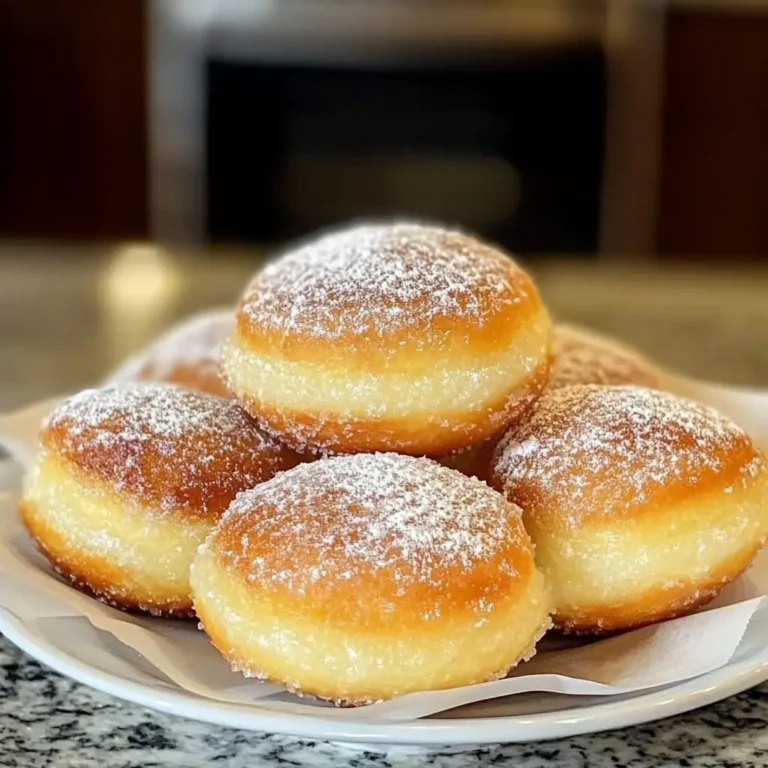
The moment you step into my cozy kitchen in Monterey, you’ll be enveloped by the warm, nutty aroma of Brown Butter Brookies baking in the oven. These delightful treats are a harmonious blend of two family favorites: brownies and cookies. They bring back memories of my childhood, surrounded by the laughter of my mother Elena and the gentle guidance of Nonna Rosa. Cooking was never just about feeding the family; it was an act of love and a tradition I cherish deeply. This recipe is a testament to those cherished memories, and I am thrilled to share it with you.
Table of Contents
Why You’ll Love This Brown Butter Brookies
Imagine biting into a brookie with its crispy, cookie-like edges and a gooey, brownie-like center. The brown butter adds an irresistible depth of flavor, taking these brookies to a whole new level of deliciousness. My daughters, Olivia and Isabella, love helping me make these, their little hands eagerly grabbing for the batter with giggles echoing through the kitchen. These brookies are the perfect treat for any occasion, embodying comfort and nostalgia in every bite.
Ingredients You’ll Need for This Brown Butter Brookies
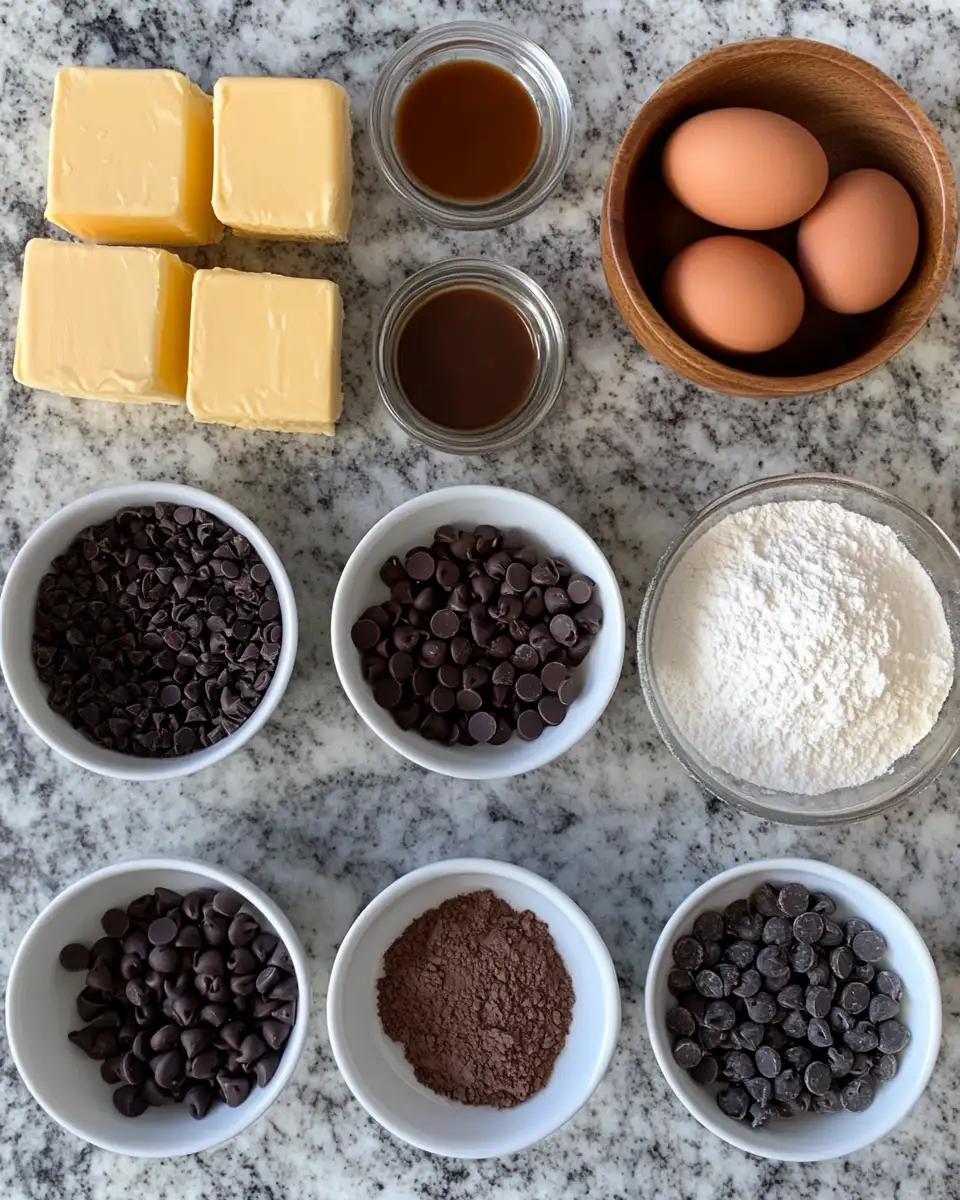
Gathering the ingredients for these brookies is like assembling a palette of flavors. Here’s what you need:
- 1 cup unsalted butter
- 1 1/4 cups granulated sugar
- 3/4 cup packed light brown sugar
- 2 large eggs
- 1 tablespoon vanilla extract
- 2 cups all-purpose flour
- 1/2 cup unsweetened cocoa powder
- 1 teaspoon baking soda
- 1/2 teaspoon salt
- 1 cup semi-sweet chocolate chips
- 1/2 cup chopped walnuts (optional)
If you’re like my mother Elena, who loves to improvise, feel free to swap the walnuts for pecans or add a sprinkle of sea salt on top for an extra pop of flavor.
Nutrition Facts
For those curious about the nutritional content, here’s a breakdown:
- Calories: 320 per serving
- Protein: 4g
- Fat: 18g
- Carbohydrates: 40g
- Fiber: 2g
- Sugar: 25g
- Sodium: 150mg
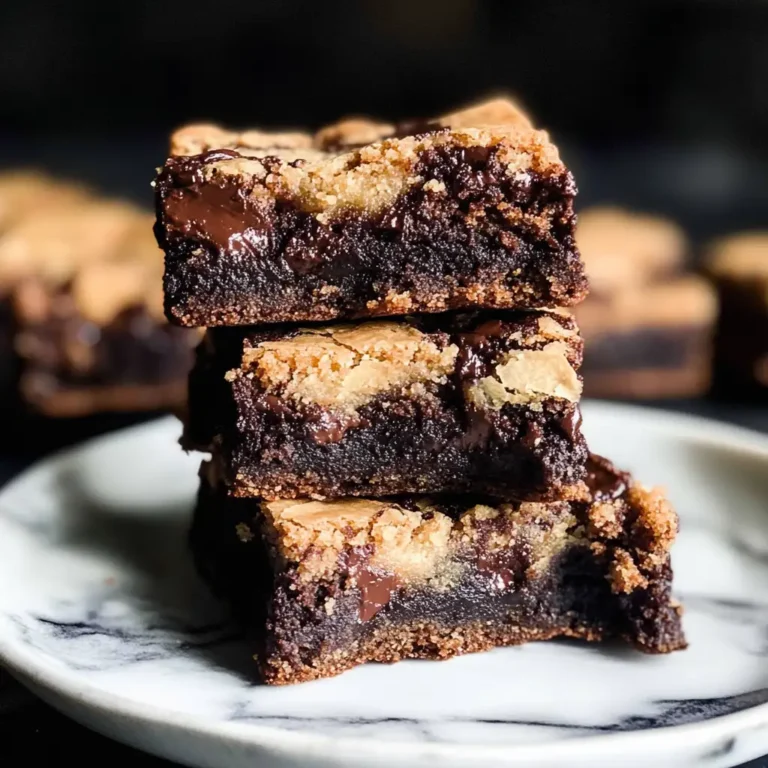
Indulge in the Ultimate Brown Butter Brookies Bliss
Learn how to make delicious Brown Butter Brookies. Easy recipe with step-by-step instructions.
- Total Time: 45 minutes
- Yield: 4 servings 1x
Ingredients
Gathering the ingredients for these brookies is like assembling a palette of flavors. Here’s what you need:
- 1 cup unsalted butter
- 1 1/4 cups granulated sugar
- 3/4 cup packed light brown sugar
- 2 large eggs
- 1 tablespoon vanilla extract
- 2 cups all-purpose flour
- 1/2 cup unsweetened cocoa powder
- 1 teaspoon baking soda
- 1/2 teaspoon salt
- 1 cup semi-sweet chocolate chips
- 1/2 cup chopped walnuts (optional)
If you’re like my mother Elena, who loves to improvise, feel free to swap the walnuts for pecans or add a sprinkle of sea salt on top for an extra pop of flavor.
Instructions
Follow these steps to bring this delightful treat to life:
- Preheat your oven to 350°F (175°C) and line a 9×13 inch baking dish with parchment paper.
- In a medium saucepan, melt the butter over medium heat. Continue to cook until it turns a golden brown and releases a nutty aroma, about 5 minutes. Be sure to stir frequently and watch closely to prevent burning.
- Pour the brown butter into a large mixing bowl and let it cool for a few minutes.
- Add the granulated sugar and brown sugar to the butter, whisking until combined.
- Beat in the eggs one at a time, followed by the vanilla extract.
- In a separate bowl, sift together the flour, cocoa powder, baking soda, and salt.
- Gradually mix the dry ingredients into the wet mixture until just combined, then fold in the chocolate chips and walnuts.
- Spread the batter evenly in the prepared baking dish.
- Bake for 25-30 minutes, or until the edges are set and the center is slightly soft. A toothpick inserted should come out with a few moist crumbs.
- Allow the brookies to cool in the pan before cutting into squares.
These steps echo the times spent in my grandmother’s kitchen, where patience and love were key ingredients in every dish.
- Prep Time: 15 minutes
- Cook Time: 30 minutes
- Category: Main Dish
- Method: Cooking
- Cuisine: International
Steps to Create Your Brown Butter Brookies
Follow these steps to bring this delightful treat to life:
- Preheat your oven to 350°F (175°C) and line a 9×13 inch baking dish with parchment paper.
- In a medium saucepan, melt the butter over medium heat. Continue to cook until it turns a golden brown and releases a nutty aroma, about 5 minutes. Be sure to stir frequently and watch closely to prevent burning.
- Pour the brown butter into a large mixing bowl and let it cool for a few minutes.
- Add the granulated sugar and brown sugar to the butter, whisking until combined.
- Beat in the eggs one at a time, followed by the vanilla extract.
- In a separate bowl, sift together the flour, cocoa powder, baking soda, and salt.
- Gradually mix the dry ingredients into the wet mixture until just combined, then fold in the chocolate chips and walnuts.
- Spread the batter evenly in the prepared baking dish.
- Bake for 25-30 minutes, or until the edges are set and the center is slightly soft. A toothpick inserted should come out with a few moist crumbs.
- Allow the brookies to cool in the pan before cutting into squares.
These steps echo the times spent in my grandmother’s kitchen, where patience and love were key ingredients in every dish.
Tips for Making the Best Brown Butter Brookies
Here are a few tips to ensure your brookies turn out perfectly:
- Don’t rush the browning of the butter; it’s crucial for that rich, nutty flavor.
- Use room temperature eggs to ensure they mix well into the batter.
- If you’re a fan of chewy centers, bake them for a slightly shorter time.
- For an extra indulgent touch, sprinkle a pinch of sea salt on top before baking.
These tips are born from years of trial and error, passed down through generations in my family.
Serving Suggestions and Pairings
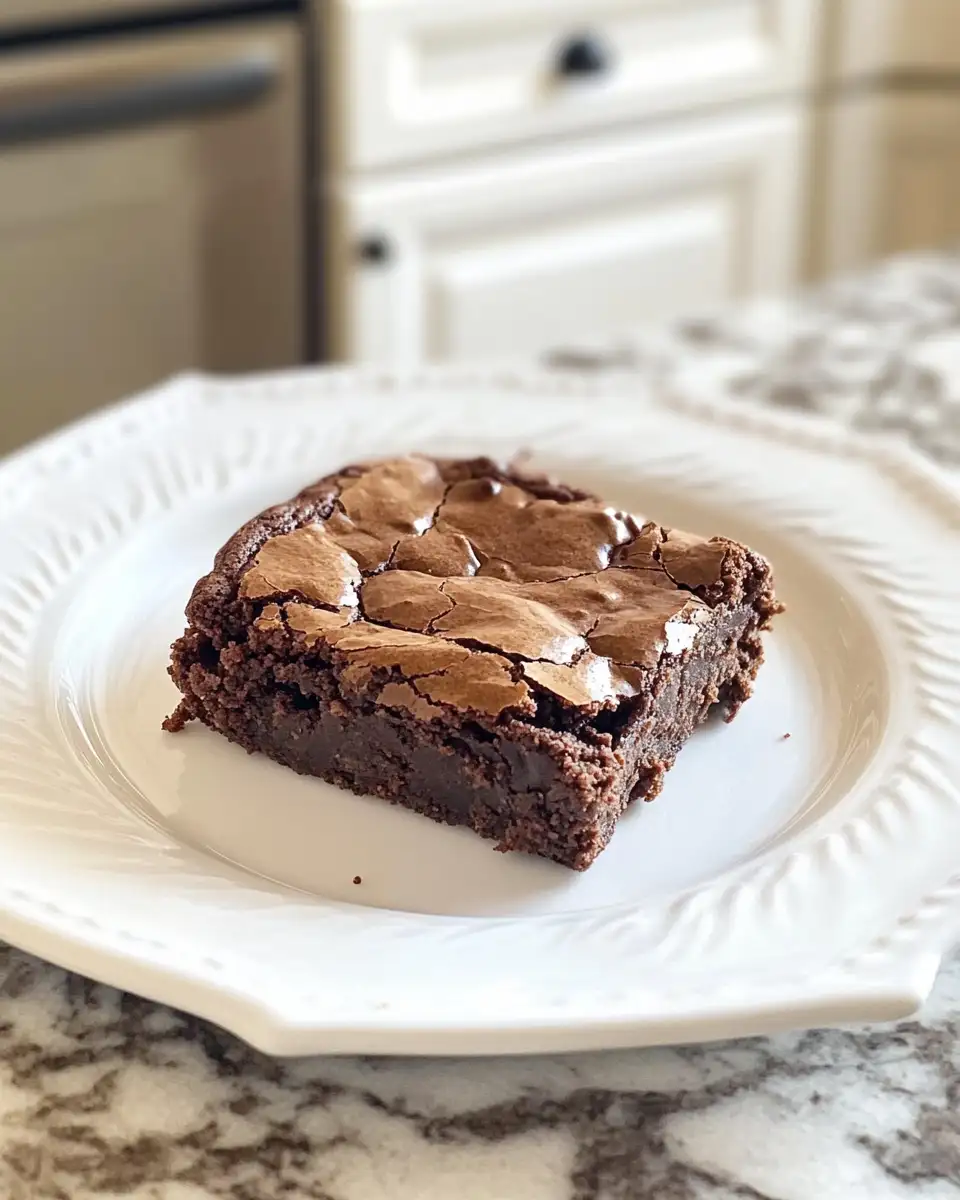
Brown Butter Brookies are delightful on their own, but here are some serving suggestions to elevate your experience:
- Pair with a scoop of vanilla ice cream for a classic duo.
- Serve alongside a warm cup of coffee or a glass of cold milk.
- For a festive touch, drizzle with melted chocolate and sprinkle with crushed nuts.
These pairings remind me of family gatherings where we would savor each bite, sharing stories and laughter around the table.
Storage and Reheating Tips
To keep your brookies fresh and delicious, follow these storage tips:
- Store in an airtight container at room temperature for up to 5 days.
- For longer storage, freeze the brookies in a single layer before transferring to a freezer-safe bag. They can be frozen for up to 3 months.
- To reheat, warm them in a 300°F oven for about 10 minutes or microwave for 15-20 seconds.
These tips ensure that you can enjoy a taste of home-baked comfort anytime you wish.
Frequently Asked Questions
What are the main ingredients for Brown Butter Brookies?
The main ingredients for Brown Butter Brookies include the items listed in our ingredients section above. Each ingredient plays a crucial role in achieving the perfect flavor and texture.
How long does it take to make Brown Butter Brookies?
The total time to make Brown Butter Brookies includes both preparation and cooking time. Check the recipe card above for exact timing details.
Can I make Brown Butter Brookies ahead of time?
Yes, Brown Butter Brookies can often be prepared in advance. Store it properly in an airtight container in the refrigerator and consume within the recommended timeframe.
What can I serve with Brown Butter Brookies?
Brown Butter Brookies pairs well with various sides and accompaniments. Consider the serving suggestions mentioned in the recipe for the best dining experience.
Is Brown Butter Brookies suitable for special diets?
Depending on the ingredients used, Brown Butter Brookies may be adapted for various dietary needs. Check the ingredients list and consider substitutions as needed for your dietary requirements.
Final Thoughts
Brown Butter Brookies are more than just a dessert; they’re a slice of my family’s culinary legacy. I hope this recipe brings as much joy to your table as it does to mine. From my kitchen in Monterey to yours, may these brookies fill your home with warmth, love, and cherished memories. Thank you for joining me on this delicious journey.


