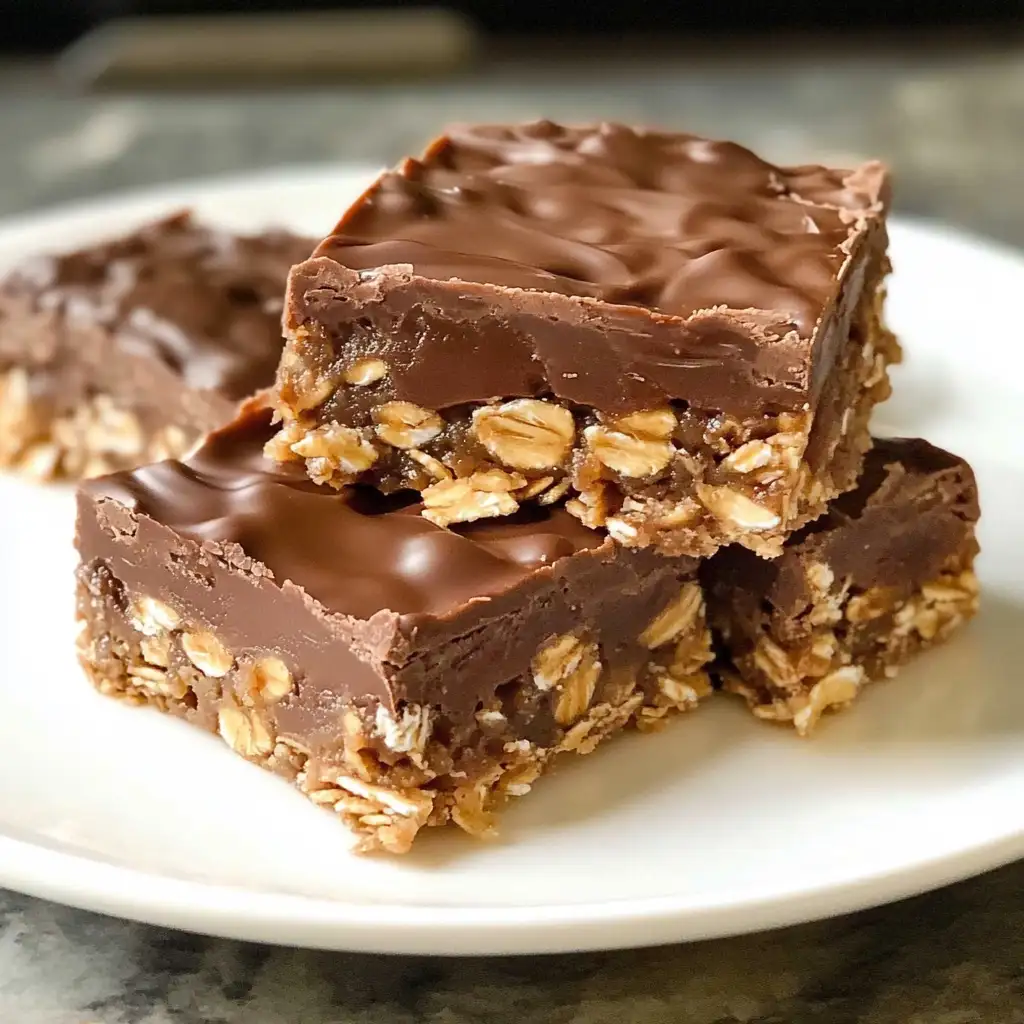
There’s something magically nostalgic about creating a sweet treat that doesn’t require an oven. The aroma of chocolate mingling with oats reminds me of the countless afternoons spent in my grandmother’s sunlit kitchen in Monterey. It’s here that the love for simple, heartfelt recipes, like No Bake Chocolate Oat Bars, was planted in my heart. My grandmother, Nonna Rosa, was the architect of these cherished moments, always ready with a story and a recipe that transcended time. Today, as I watch my daughters, Olivia and Isabella, stir the mixture with eager hands, I’m reminded that these bars are more than just a recipe—they’re a piece of our family’s tapestry, woven with love, memories, and a hint of chocolate.
Table of Contents
Why You’ll Love This No Bake Chocolate Oat Bars
These No Bake Chocolate Oat Bars are a delightful blend of simplicity and nostalgia, offering a taste that feels both timeless and indulgent. What makes them truly special is their versatility and ease. Whether you’re a seasoned cook like my mother, Elena, who loves to improvise, or a kitchen novice, these bars are forgiving and fun to make. Just like those summer days in Nonna Rosa’s kitchen, where laughter was as abundant as flour dusted on the countertops, these bars invite you to create without constraints. They’re perfect for busy days when you crave a homemade treat without the fuss, and they embody the spirit of togetherness, as they’re easy enough for little hands to help, bringing joy to the whole family.
Ingredients You’ll Need for This No Bake Chocolate Oat Bars
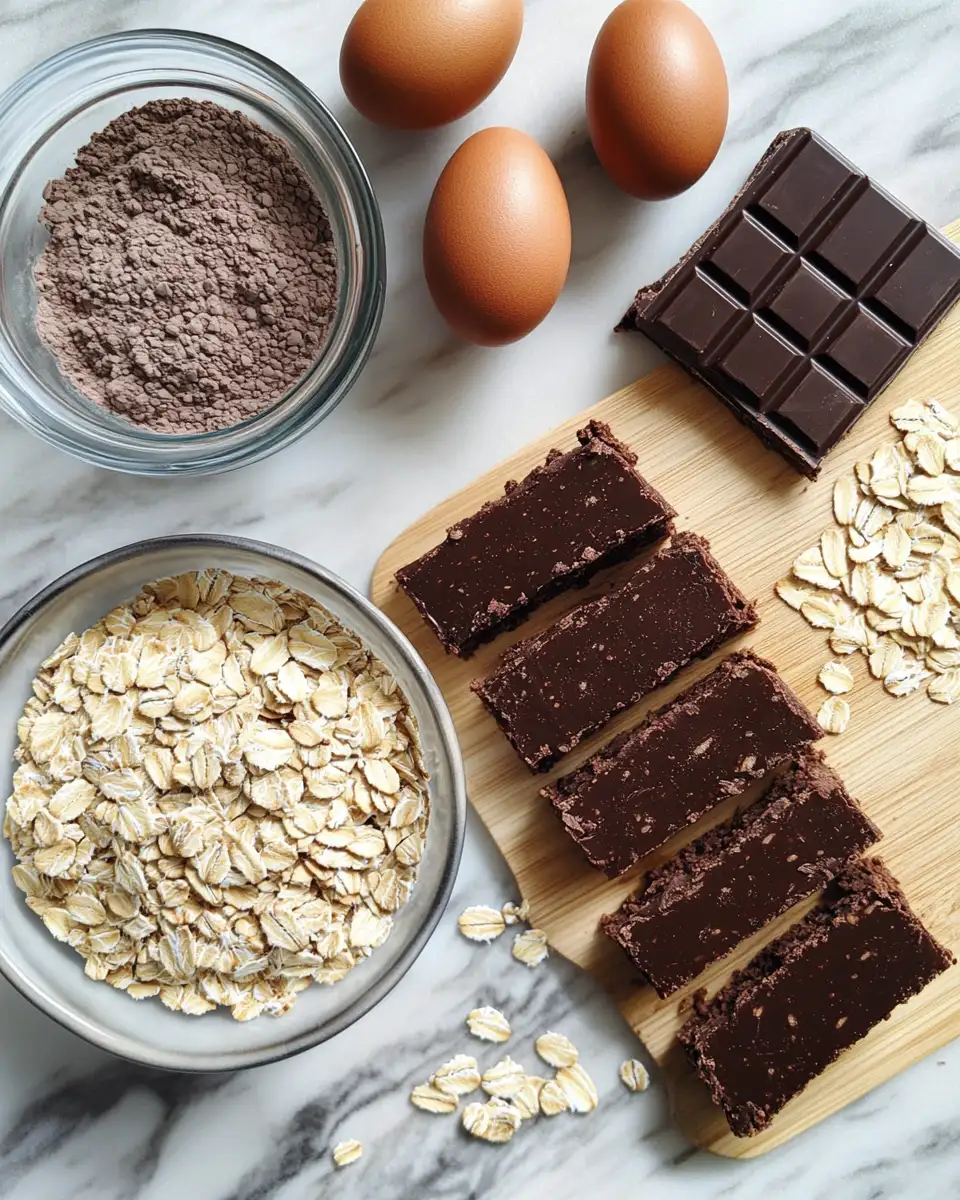
Creating these bars is akin to painting with flavors, each ingredient contributing its own note to the symphony of tastes. Here’s what you’ll need: – **Rolled oats**: The hearty backbone of the bars that brings texture and a nutty flavor. – **Creamy peanut butter**: It adds richness and a touch of nutty sweetness, reminiscent of my grandmother’s peanut butter cookies. – **Honey**: A natural sweetener that binds everything together, its golden hue always a reminder of the honey jars in Nonna Rosa’s pantry. – **Dark chocolate chips**: For that luscious, deep chocolate flavor that pairs perfectly with oats. – **Vanilla extract**: A splash of warmth that elevates the other ingredients, much like a sunny afternoon in our Monterey garden. – **Coconut oil**: To help the chocolate set smoothly, giving the bars a glossy finish. – **A pinch of salt**: To balance out the sweetness and enhance flavors.
Nutrition Facts
These bars are a little indulgence that doesn’t skimp on nutrition. Each bite is a blend of healthy fats, fiber, and a touch of sweetness, making them a satisfying snack. Oats are celebrated for their heart-healthy qualities, while peanut butter adds protein and essential nutrients. Using honey as a sweetener offers a natural alternative to refined sugars. These bars, while a delightful treat, are also a mindful choice, perfect for those afternoons when you need a boost of energy without reaching for something too sugary.
Print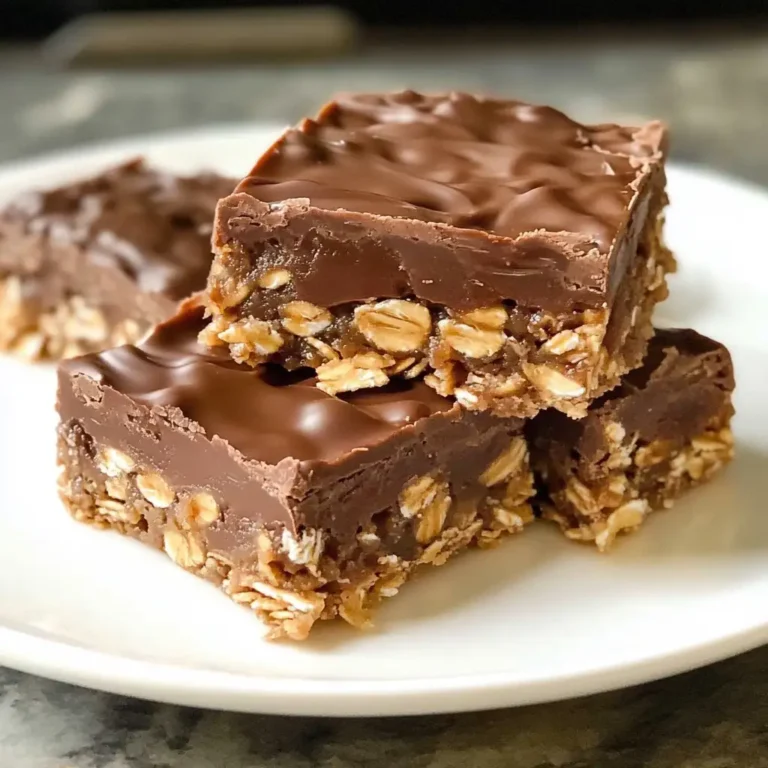
Irresistible No Bake Chocolate Oat Bars: Your New Favorite Treat
Learn how to make delicious No Bake Chocolate Oat Bars. Easy recipe with step-by-step instructions.
- Total Time: 45 minutes
- Yield: 4 servings
Ingredients
Creating these bars is akin to painting with flavors, each ingredient contributing its own note to the symphony of tastes. Here’s what you’ll need:
– **Rolled oats**: The hearty backbone of the bars that brings texture and a nutty flavor.
– **Creamy peanut butter**: It adds richness and a touch of nutty sweetness, reminiscent of my grandmother’s peanut butter cookies.
– **Honey**: A natural sweetener that binds everything together, its golden hue always a reminder of the honey jars in Nonna Rosa’s pantry.
– **Dark chocolate chips**: For that luscious, deep chocolate flavor that pairs perfectly with oats.
– **Vanilla extract**: A splash of warmth that elevates the other ingredients, much like a sunny afternoon in our Monterey garden.
– **Coconut oil**: To help the chocolate set smoothly, giving the bars a glossy finish.
– **A pinch of salt**: To balance out the sweetness and enhance flavors.
Instructions
Creating these bars is like rediscovering the joy of childhood simplicity. Here’s how:
1. **Prepare Your Pan**: Line an 8×8-inch pan with parchment paper, providing an easy way to lift out the bars once set.
2. **Mix the Base**: In a medium pot, gently heat the peanut butter, honey, and vanilla extract until they blend into a smooth mixture. It’s like stirring the pot of marinara with Nonna Rosa, patiently waiting for the perfect consistency.
3. **Add the Oats**: Stir in the rolled oats, making sure each oat is well-coated. The sound of oats scraping against the pot is oddly comforting, echoing the rhythms of my childhood kitchen.
4. **Press into Pan**: Pour the oat mixture into the prepared pan, pressing it down with the back of a spoon to create an even layer.
5. **Melt the Chocolate**: In a small saucepan over low heat, melt the chocolate chips with coconut oil, stirring until glossy and smooth.
6. **Layer with Chocolate**: Pour the melted chocolate over the oat base, spreading it evenly with a spatula.
7. **Chill**: Pop the pan in the refrigerator for at least two hours, allowing the bars to set. This waiting time is perfect for a stroll in the garden, where I often find inspiration among the herbs and flowers.
- Prep Time: 15 minutes
- Cook Time: 30 minutes
- Category: Main Dish
- Method: Cooking
- Cuisine: International
Steps to Create Your No Bake Chocolate Oat Bars
Creating these bars is like rediscovering the joy of childhood simplicity. Here’s how: 1. **Prepare Your Pan**: Line an 8×8-inch pan with parchment paper, providing an easy way to lift out the bars once set. 2. **Mix the Base**: In a medium pot, gently heat the peanut butter, honey, and vanilla extract until they blend into a smooth mixture. It’s like stirring the pot of marinara with Nonna Rosa, patiently waiting for the perfect consistency. 3. **Add the Oats**: Stir in the rolled oats, making sure each oat is well-coated. The sound of oats scraping against the pot is oddly comforting, echoing the rhythms of my childhood kitchen. 4. **Press into Pan**: Pour the oat mixture into the prepared pan, pressing it down with the back of a spoon to create an even layer. 5. **Melt the Chocolate**: In a small saucepan over low heat, melt the chocolate chips with coconut oil, stirring until glossy and smooth. 6. **Layer with Chocolate**: Pour the melted chocolate over the oat base, spreading it evenly with a spatula. 7. **Chill**: Pop the pan in the refrigerator for at least two hours, allowing the bars to set. This waiting time is perfect for a stroll in the garden, where I often find inspiration among the herbs and flowers.
Tips for Making the Best No Bake Chocolate Oat Bars
To ensure your bars turn out just right, here are some tips from years of kitchen adventures: – **Quality Ingredients**: Opt for high-quality chocolate and fresh oats for the best flavor. – **Customize**: Feel free to add a sprinkle of sea salt on top for a savory touch, or mix in some dried fruits or nuts for added texture. – **Patience is Key**: Allow the bars to set fully before cutting. Trust me, it’s worth the wait—much like letting a loaf of bread rise fully before baking.
Serving Suggestions and Pairings
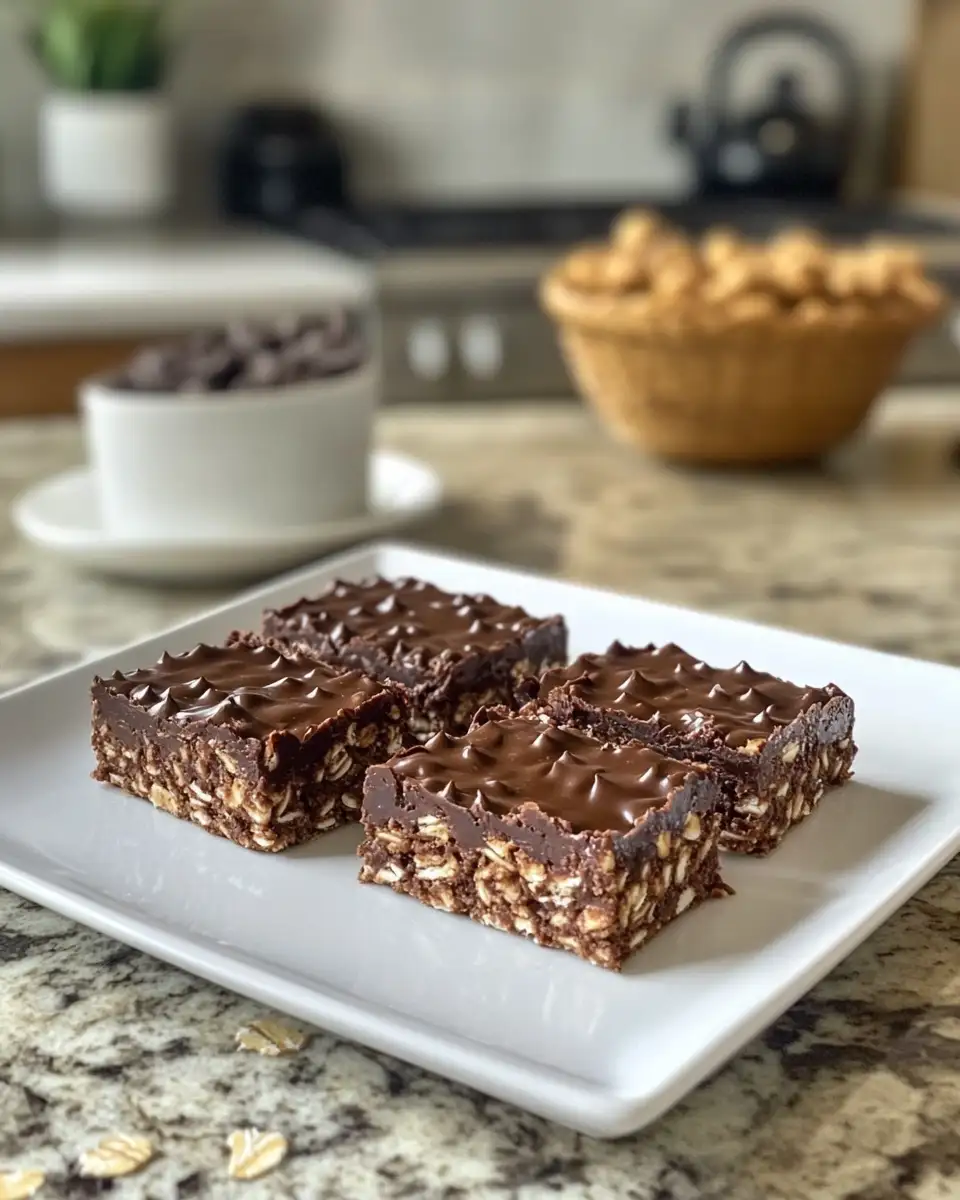
These bars are delightfully versatile, perfect for any time of day. I love to serve them with a steaming cup of coffee in the morning, a ritual that reminds me of leisurely breakfasts in the Italian countryside. For an afternoon treat, pair them with a glass of cold milk or iced tea. They’re also a delightful addition to a picnic basket, offering a sweet conclusion to a day spent at the beach with my family, where the sound of waves and laughter mingle in the air.
Storage and Reheating Tips
To keep your bars fresh and delicious, store them in an airtight container in the refrigerator for up to a week. They also freeze beautifully; simply wrap them individually and pop them in the freezer for up to a month. When you’re ready to enjoy, just let them thaw at room temperature for about 10 minutes—like savoring the anticipation of a family gathering, knowing something wonderful is about to unfold.
Frequently Asked Questions
What are the main ingredients for No Bake Chocolate Oat Bars?
The main ingredients for No Bake Chocolate Oat Bars include the items listed in our ingredients section above. Each ingredient plays a crucial role in achieving the perfect flavor and texture.
How long does it take to make No Bake Chocolate Oat Bars?
The total time to make No Bake Chocolate Oat Bars includes both preparation and cooking time. Check the recipe card above for exact timing details.
Can I make No Bake Chocolate Oat Bars ahead of time?
Yes, No Bake Chocolate Oat Bars can often be prepared in advance. Store it properly in an airtight container in the refrigerator and consume within the recommended timeframe.
What can I serve with No Bake Chocolate Oat Bars?
No Bake Chocolate Oat Bars pairs well with various sides and accompaniments. Consider the serving suggestions mentioned in the recipe for the best dining experience.
Is No Bake Chocolate Oat Bars suitable for special diets?
Depending on the ingredients used, No Bake Chocolate Oat Bars may be adapted for various dietary needs. Check the ingredients list and consider substitutions as needed for your dietary requirements.
Final Thoughts
No Bake Chocolate Oat Bars are more than just a recipe; they’re a love letter to family traditions and the simple joys of life. Each bite is a reminder of the warmth and laughter that filled my grandmother’s kitchen, a testament to the power of food to connect us across generations. As I share these bars with Olivia and Isabella, I see the same joy and curiosity I had as a child. It’s a beautiful cycle of love and learning, proving that while the ingredients may change, the heart of the recipe remains the same. Here’s to creating memories and passing down the legacy of love, one delicious bar at a time.

